Payments and delivery
How money reaches you — cash on delivery, cards, bank transfer — and how parcels leave: delivery charges, methods and couriers.
Two screens, and your shop cannot take a single order without them. A customer can fill a cart, but if there is no way to pay and no delivery charge set, they cannot finish.
Getting paid#
Open Settings and click the Payments tile. Every method is a card with a switch. Switch one on and its own boxes open underneath. A method left off simply does not appear at checkout.
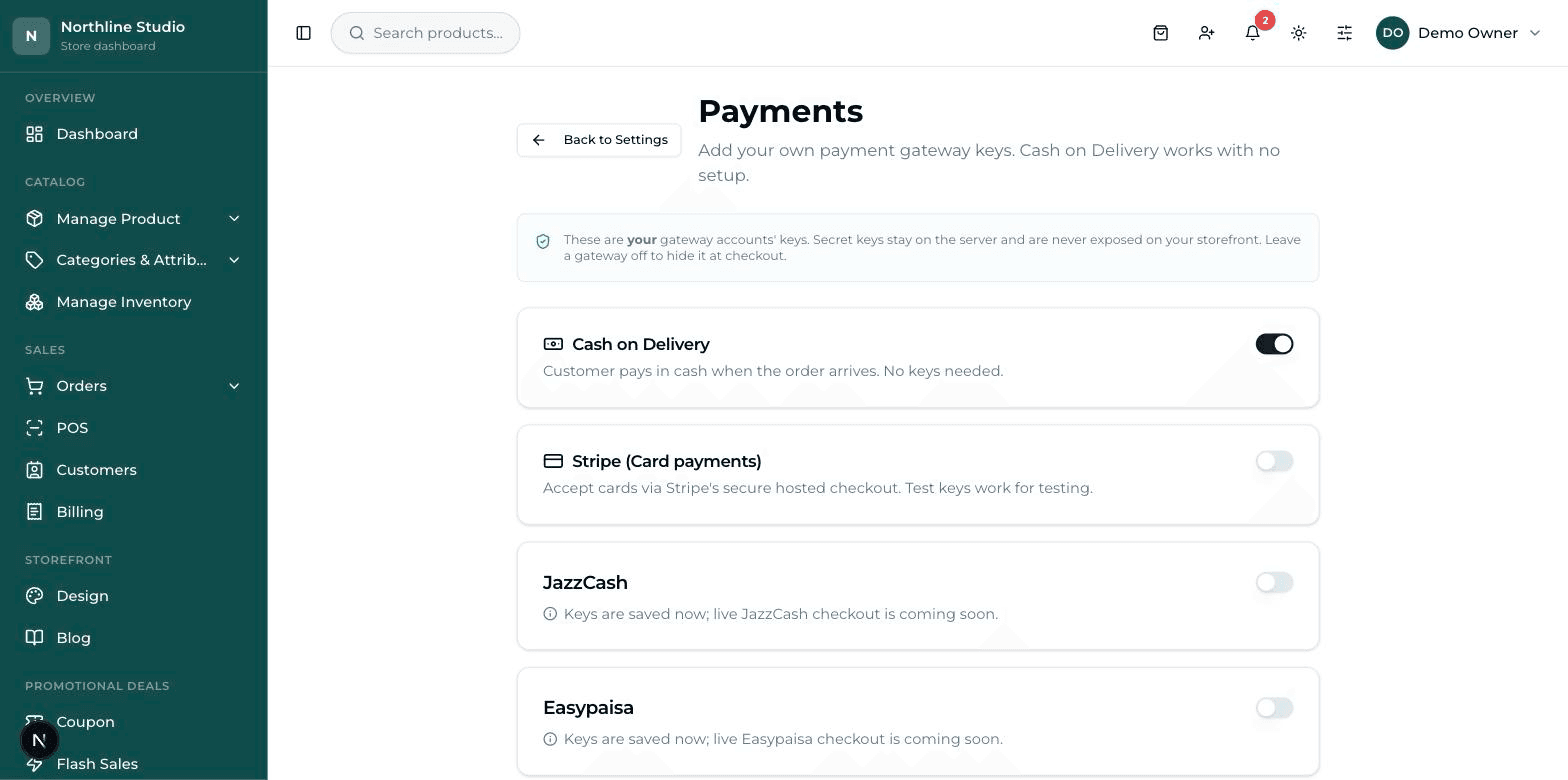
Cash on Delivery#
The customer pays cash to the delivery man when the parcel arrives. Nothing to set up — one switch and it works. It is on to begin with, and for most shops here it is the method that carries almost every order.
Cards (Stripe)#
Stripe is the company that takes card payments for you. The customer types their card details on Stripe's own secure page, not on yours, and then comes back. You need a Stripe account of your own — the keys below are yours, not your provider's.
- Switch Stripe (Card payments) on. Two boxes appear.
- From your Stripe Dashboard → Developers → API keys, copy the Publishable key (it starts with pk_) into the first box and the Secret key (starts with sk_) into the second.
- Below them is a dashed box headed Payment webhook. Press the copy button next to the address shown under Step 1 — copy your webhook URL.
- In Stripe: Developers → Webhooks → Add endpoint → paste that address → choose the event checkout.session.completed → Add endpoint.
- Stripe now shows a Signing secret starting with whsec_. Paste it into Step 3 — paste the signing secret.
- Press Save Settings. The webhook box now shows a green Connected instead of the amber Not set up yet.
Bank Transfer#
The simplest way to take money into your bank without any gateway. The customer sees your account details at checkout, transfers the money themselves, and types the transaction reference. You check your bank, then mark the order paid by hand.
- Switch Bank Transfer on and fill Bank name, Account title, Account number and IBAN.
- Instructions (optional) is a free line shown to the buyer — for example, asking them to send the receipt to your WhatsApp.
- Press Save Settings.
- When the money lands, open the order from Orders → All Orders and press Mark payment received. The order goes from Pending to Paid.
JazzCash and Easypaisa#
Delivery charges#
Open Settings and click the Shipping tile. The first card, Delivery charges, has the two numbers most shops only ever need.
- Default delivery charge (Rs) — the flat amount added to every order. Put 0 if you deliver free.
- Free delivery above (Rs) — orders at or above this amount pay no delivery charge. Leave it blank if you never give free delivery.
Delivery methods (Standard, Express…)#
If you want to offer a choice — a cheap slow one and an expensive fast one — add them here. With no methods added, the flat charge above is used and the customer sees no choice at all, which is perfectly fine.
- In the Delivery methods card press Add method. A row appears headed Method 1.
- Fill Name (e.g. Standard), Fee (Rs) and Delivery time (e.g. 3-5 din). The delivery time is only words shown to the customer — nothing counts it.
- Add a second method the same way if you want one. Use the On / Off switch on a row to hide a method for a while without deleting it.
- Press Save Settings. Now checkout shows a Delivery Method chooser, and the first switched-on method is picked by default.
Couriers#
This is the list of courier companies you actually use. Setting it up once means that later, on each order, you pick a courier from a dropdown instead of typing it, and your customer gets a working tracking link in their email.
- Scroll to the Couriers card. Along the top are ready-made buttons: TCS, Leopards, M&P, PostEx, Trax and Call Courier.
- Click the ones you use. Each becomes a row with its name and tracking address already filled in, and its button turns into a tick so you cannot add it twice.
- For any courier not on the list, press Add courier and type the Courier name yourself.
- Press Save Settings.
Putting the courier on an order#
- Open Orders → All Orders and click the order you have just handed to the courier.
- Scroll to the small block headed Shipment.
- Pick the courier from Select courier…, and type the consignment number in Tracking / CN number.
- Press Save & notify. A green message says the shipment was saved and the customer notified — the tracking link is now in their inbox, and the order moves to Shipped.