Categories and labels
The groups your customers browse by, sub-categories, and the Brand list.
A category is a group of things you sell — Shirts, Drinks, Chargers, Biryani. It is how a customer finds anything on your website without knowing the exact name of it.
Do this before you add a single product
Make your categories first. Then every product you add can be dropped into the right group while you are already on the form. Do it the other way round and you have to open all your products again, one by one, just to tick a box.
Adding a category#
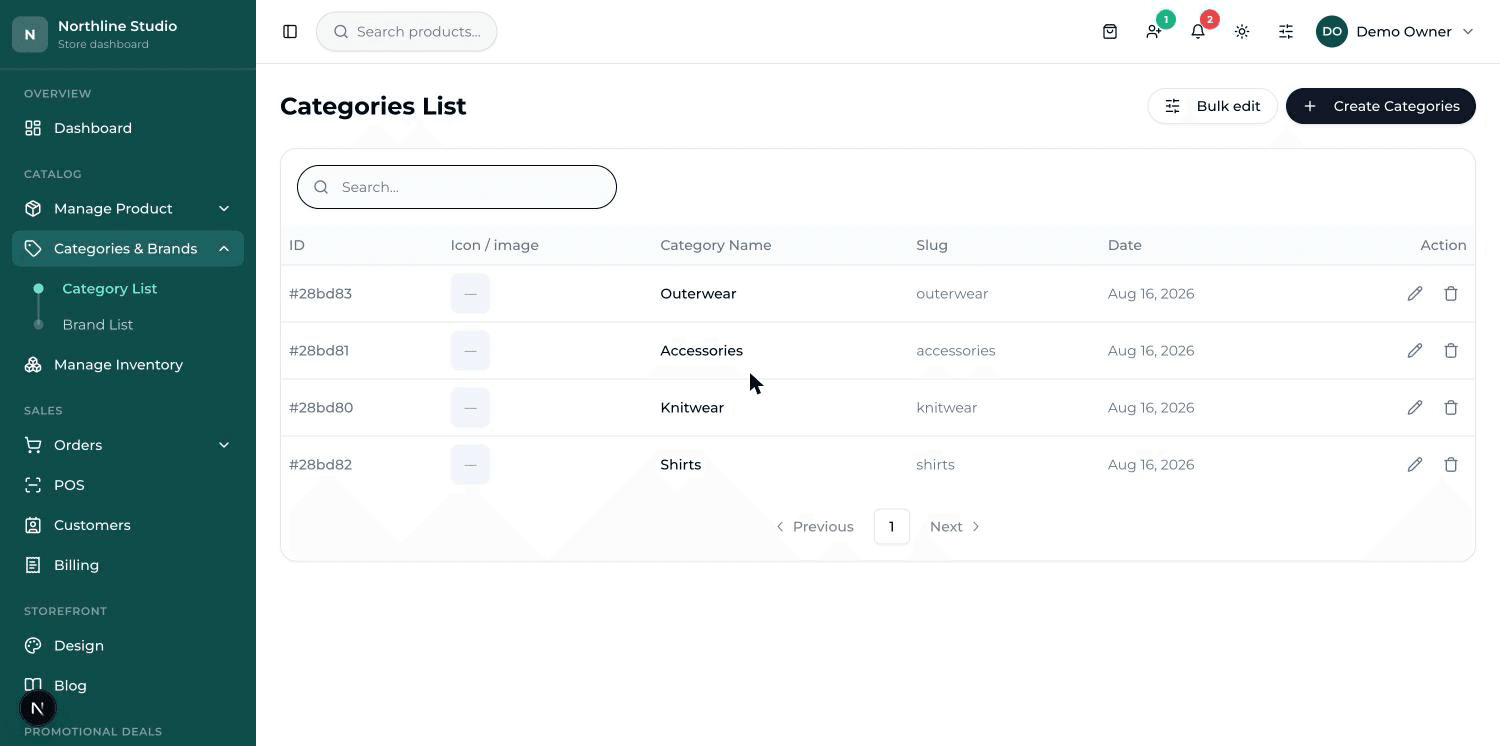
- In the menu on the left, open Categories & Brands, then Category List. You will see a table of the categories you already have.
- Press Create Categories at the top right. A form headed Create New Categories opens.
- Press the big dashed box marked Upload Icon / image and pick a picture for this group. It is optional, but it is what customers see on the Collections page.
- In the first box type the name — Categories Name. This is the word customers will read, so write it the way they would say it.
- Leave Parent Category on No parent for now — that is for sub-categories, explained lower down this page.
- Short Description is optional. One line about the group is plenty.
- Press Save. You come back to the list and the new category is in the table with its own picture, name and Slug.
What the Slug column is#
The slug is the short web address of that group — the part after your domain name. You never type it: it is made from the name you wrote. Name a category Winter Shirts and its slug becomes winter-shirts.
Sub-categories — a group inside a group#
Parent Category is how you put one group inside another. Make Men's first, then make Shirts and choose Men's as its Parent Category. Shirts now sits under Men's, and a shop with fifty groups stays readable.
- A product can sit in the parent and in the child at the same time — put a shirt in both Men's and Shirts and it shows up under either one.
- A category cannot be its own parent. The list simply does not offer it.
- Two levels is usually enough. Deeper than that and customers stop finding things.
Changing or removing a category#
- On Category List, press the pencil on that row to open it, change what you need, and press Save.
- The bin icon deletes it. A box asks you first and tells you how many products are in that category.
Changing many categories at once#
Bulk edit at the top of Category List opens one screen where the Name, Parent and Description of every category are editable side by side. Change what you like, then press Save changes once for all of them.
Brand List#
Under the same menu there is a Brand List. It works like categories — a Create button, a form, a table — and it holds the makers whose goods you carry: a logo, a banner, a website address and a line about them.
A brand is attached to a product on the Add Product form, and a shopper sees it on the product page as a link — tapping it shows everything you carry from that maker. So it is worth filling in for a shop where people ask for a maker by name, and worth skipping for one where they do not.