Import, export and barcode labels
Bring a whole catalogue in from a file, take yours out, and print stickers for goods that came without a barcode.
Typing five hundred products by hand is nobody's idea of a good week. If you already have them in a file — from Shopify, from WooCommerce, from Excel, from a shop you used before — you can bring the whole lot in at once.
What a CSV is
A CSV is just a spreadsheet saved in a plain, simple form. Excel and Google Sheets both make one from File → Save as / Download. If your list is in Excel today, it is one save away from being a CSV.
Taking your own products out#
Export CSV, next to Import CSV on the All Products page, downloads everything you sell as a file — prices, stock, barcodes, descriptions, categories, pictures, drafts and counter-only items included.
Bringing products in#
- On All Products press Import CSV. A window opens headed Import products from CSV.
- Press Choose a CSV file and pick your file. You do not have to rename any column — a file from Shopify or WooCommerce is understood as it is.
- The window changes to a preview: a green number saying how many rows are ready to import, and beside it how many rows can't be used.
- Open Matched N columns from your file to see what it made of your column names — Variant Price → price, and so on. A wrong guess is far easier to fix here than afterwards.
- Press Import N products. A bar shows the progress — keep the window open until it finishes.
- At the end you get four figures: Created, Updated, Skipped, Failed, plus the names of any new categories. Press Done.
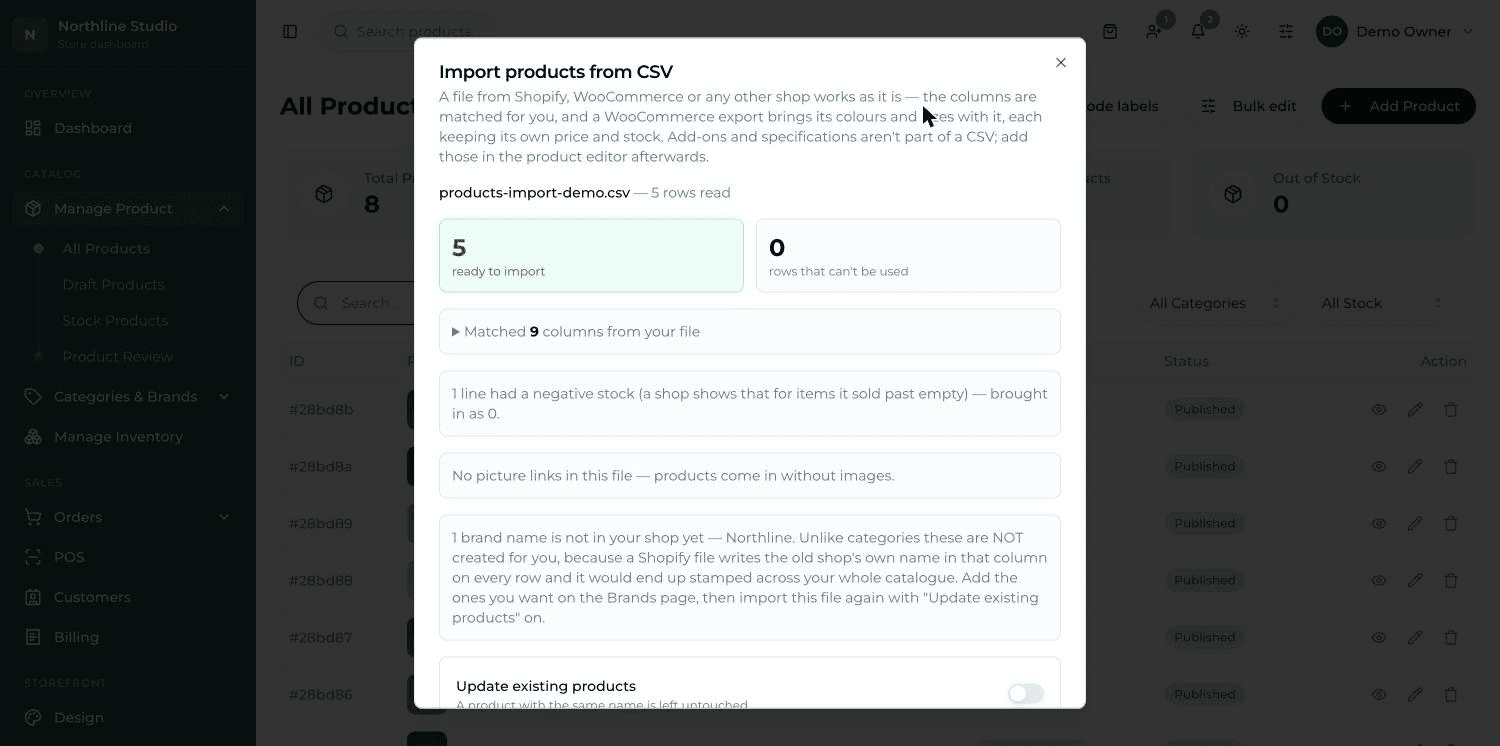
The three switches before you press Import#
| Switch | What it decides |
|---|---|
| Update existing products | Off (normal): a product with the same name is left untouched. On: it is overwritten with what is in the file. |
| Create missing categories | Category names in the file that you do not have yet are made for you. Leave it on unless you want to place everything by hand. |
| Copy images to our storage | Slower, but your pictures keep working even if the old shop's website disappears. Worth the wait. |
Copying a catalogue from one shop to another#
- In the first shop, open All Products and press Export CSV. A file lands in your downloads.
- Sign in to the other shop and open All Products there.
- Press Import CSV, choose that same file, leave Copy images to our storage on, and import.
Printing barcode labels#
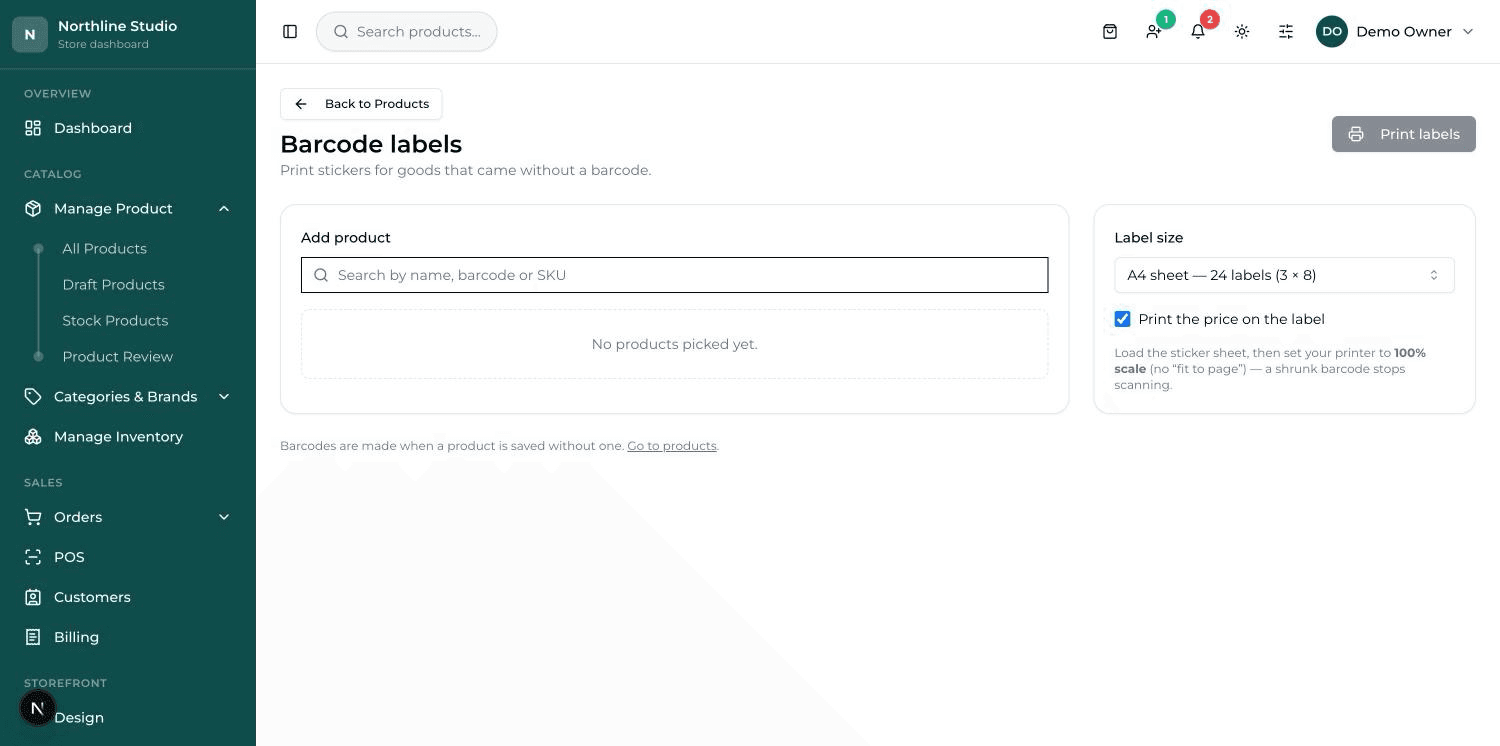
Loose or local goods come with no barcode printed on them. The dashboard makes one for each of them, and this screen prints the stickers so they can be scanned at the counter like anything else.
- Press Barcode labels at the top of All Products.
- In Add product, type a name, a barcode or an SKU and click the product in the list. It is added below.
- Set Copies for each one — how many stickers of that item you need.
- On the right choose Label size: an A4 sheet of 24, 40 or 65 labels, or a thermal label roll (38 × 25 mm).
- Tick Print the price on the label if you want the price on the sticker too.
- Press Print at the top right and your browser's print box opens.